..I’m guessing probably NOT from the back of this 1890’s buckboard.
But oh, the romance of it….
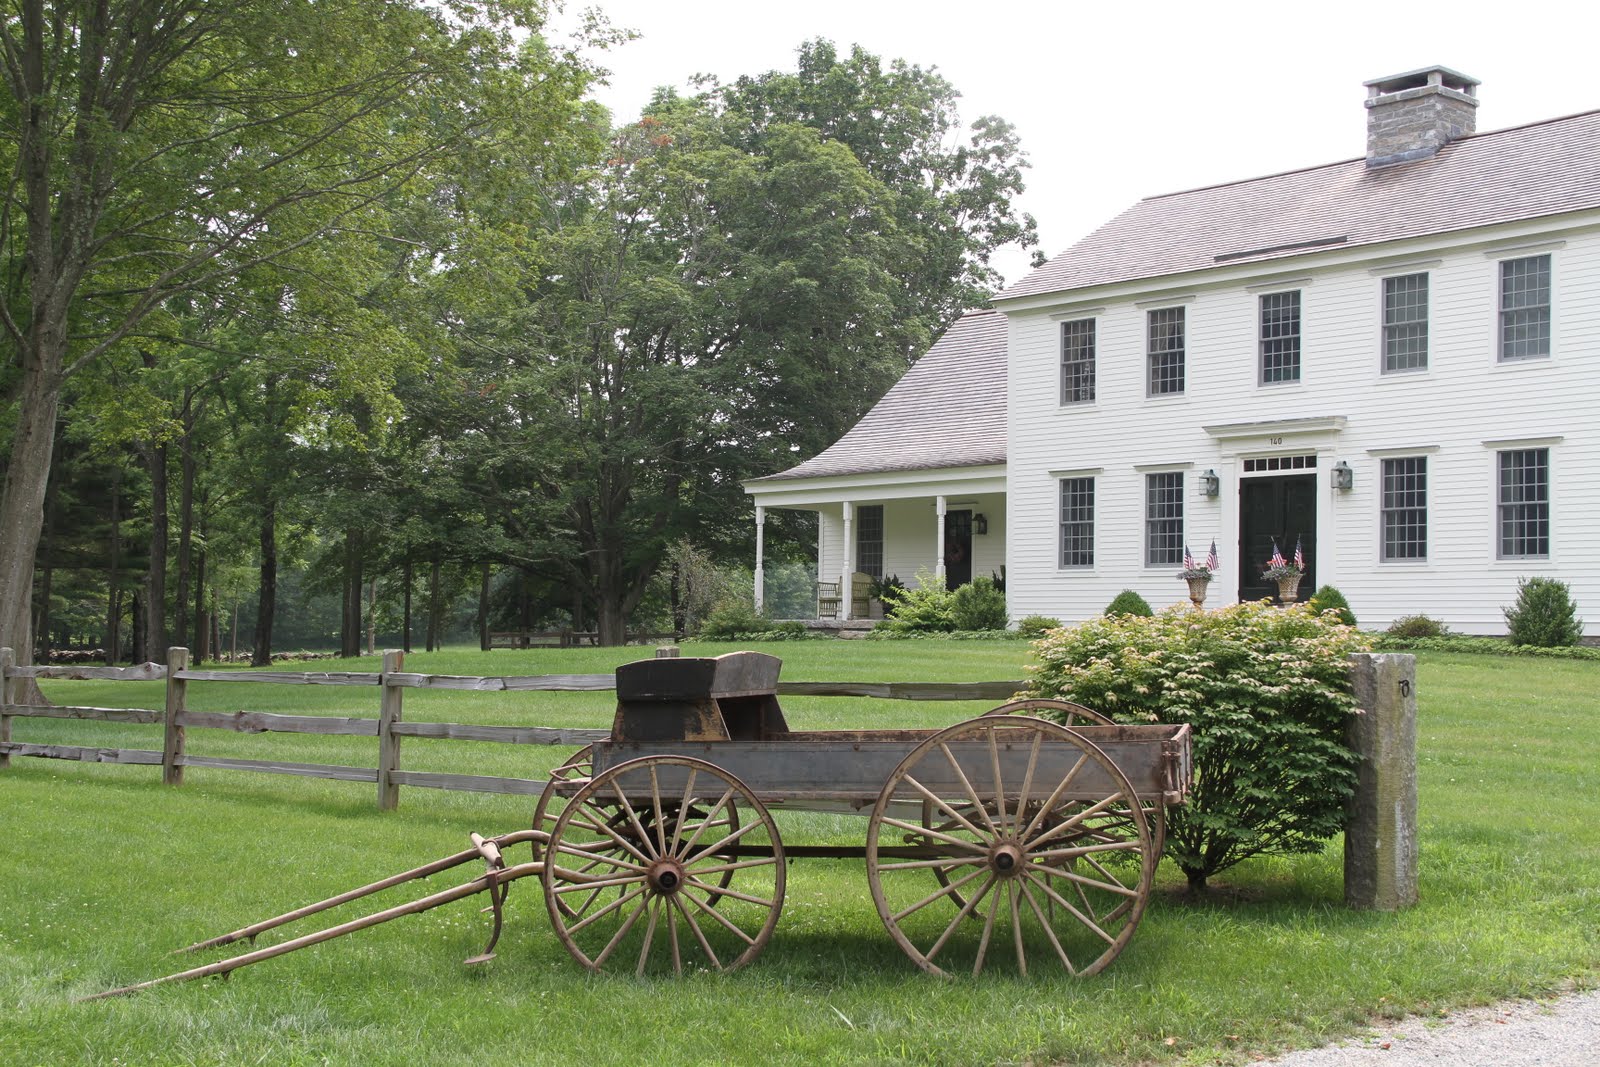


This old hay rake has come home to roost too….


Middle aged musings from farm & hearth

..for those fabulous ideas that no human can possibly pull off full time in the style that is Martha – even she has an army to do the dirty work. She does make it look easy, though, doesn’t she?
And just in case you notice… Yes, this post was written at 2am. Because at 45-gonna-be-46, my sleep is not as restful or as dependable as it once was. Not that I’m complaining…. I don’t have tsunamis rolling over my house and driving my car down to the ocean today, so I am filled with gratitude at this moment and sorrow for those people.
I found this soap recipe on another blog that is relatively new. She gave an excellent tutorial with photos and used lavender and lavender oil. I grow lavender out in the “Newport Real Estate” lamp post garden and I plan to dry it for sachets…and soap! This recipe looks pretty do-able and I’m gonna give it a go. You might see it on the farm stand this summer if I get it right.

Martha says….
We used plain, unscented glycerin soap base for these projects (available at most crafts stores). Soap bases with natural additions, such as aloe vera, goat’s milk, or olive oil, are great too.
Tools and Materials
•Assorted citrus peels, berries, and herbs
•Paper coffee filters, if using herbs
•Clean, dry containers, such as milk cartons, drink boxes, juice-concentrate cans, or yogurt cups
•Heat-resistant glass measuring cup or bowl
•Vegetable oil cooking spray or petroleum jelly
•Dough scraper
•Glycerin soap base
•Spray bottle
•Rubbing alcohol
•Paring knife
Fruit and Herb Soaps How-To:
1. Make Purees
Wash and dry all fruits and herbs; use whole berries, herb leaves, or citrus rinds with pith removed. Puree separately in a food processor. To make the herb purees, you may need to add 1 to 2 tablespoons water; place pureed herbs on a coffee filter, and wring out excess liquid before mixing into soap. Set purees aside.
2. Prepare Molds
To determine how much glycerin soap base you need, fill mold with water, then pour the water into measuring cup or bowl. Note the amount, pour out the water, then dry mold completely. Evenly coat interior of mold with cooking spray or petroleum jelly; wipe out excess.
3. Melt Soap
Use dough scraper to chop soap base into 1/2-inch pieces. Microwave soap in a glass measuring cup or bowl covered with a paper towel on medium in 30-second intervals until melted but not boiling. (A double boiler can be used instead.) Add more soap pieces as needed, and continue melting. Remove from microwave, and stir until smooth.
4. Mix In Purees
Start with 1 teaspoon puree per cup of soap. Add more as desired. The color will intensify as the purees steep in the warm soap; stir frequently to keep soap from setting. Heavy additives may settle at the bottom, while light ones float to the top. For consistent distribution, let the soap cool (but not solidify); then stir in puree, and pour into mold.
5. Pour Soap into Molds
Fill small containers 3/4 inch full with soap; for cartons, fill partially to form 1 bar at the bottom, or completely to make a block for slicing into bars. Spray surface with alcohol to eliminate bubbles. Let soaps set, 20 to 60 minutes, depending on size. Transfer molds to freezer for about 2 hours (this will help the soaps release from the molds).
6. Release Soap From Molds
Tear away cartons to unmold bars. For hard containers, pry soap away from the sides, and press bottom of container to release. Neaten soap edges with paring knife. Slice large bars into smaller ones. Use soaps within 3 to 4 months.